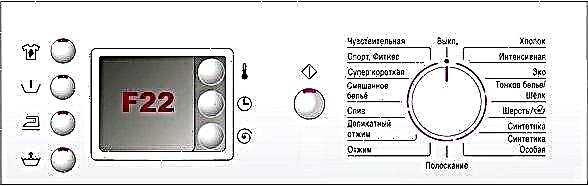
How to understand that the bearing of the Ardo washing machine is out of order? You may have noticed that lately poorly wrung out clothes or equipment noisy? This may be a sign of damage. To change the damaged part, you have to work hard. Nevertheless, repairs can be carried out independently, following the guidance in the article.

How to change the bearing in the SMA "Ardo"?
To replace the bearing will have to completely disassemble the washer. Some users are scared away by such a volume of work, but if everything is done in stages, the repair will end successfully.
Rapid wear of the inner part contributes to the overload of the drum underwear. Deformation of the stuffing box, which protects the bearing from moisture, also causes wear and destruction of the element. Here are the signs that accompany a breakdown:
- Strong noises when washing and spinning: creaking, knocking, clanging.
- Low spin speed, as a result - wet laundry at the exit.
- Frequent imbalance. During rotation, the drum dangles, which leads to an imbalance.
You can also open the hatch and shake the drum with your hand. If a large gap is visible between the tank and the drum, the bearing is damaged. To change a part, start by disassembling the AGR.
How to disassemble the Ardo?
Start by preparing for the repair. Take these tools:
- slotted and Phillips screwdrivers;
- set of open-end wrenches and socket wrenches;
- adjustable wrench;
- rubber mallet;
- chisel;
- spare parts;
- Litol-24 grease.
Start by shutting off the water inlet valve and unplug the washing plug from the wall outlet. Further:
- Prepare the container and disconnect the communications from the housing. Direct the hoses straight into the container, as water will pour out of them.
- Turn the typewriter back wall towards you.
- Having unscrewed two bolts from behind, remove the top cover.
- Remove the rear panel by unscrewing the screws around the perimeter.

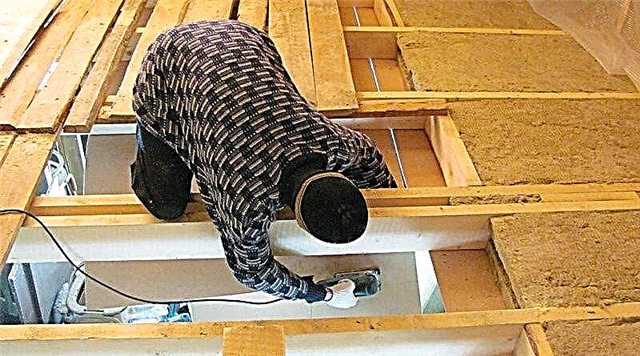
So, the panels are removed. Now proceed to dismantle the internal elements. Follow the instructions:
- Carefully remove the drive belt from the engine and tank.

- Disconnect all sensors and wires (can be attached with plastic clamps) from the tank.

- Also, grounding is attached to the base of the shaft. It must be removed by unscrewing the nut.
The back of the tank is empty. Go to the heater. Disconnect the heater wiring, twist the center nut (not completely), and push the bolt inward. Remove the item from the slot.

Now inspect the top of the SMA housing. A counterweight is hidden under the lid, which is secured by a metal plate. Take a socket wrench, unscrew fixing bolts and remove a counterbalance.
Returning to the back of the equipment, fix the metal flywheel (the wheel on which the belt is attached) with a screwdriver or a wooden plank. This is necessary so that the flywheel mounted on the flange does not rotate. Using a 13 mm head, twist the locking bolt and remove the wheel.

Then use a little trick. Twist the bolts around the perimeter of the tank, which fasten its two halves. Now you can get one part of it with the drum through the back wall without affecting the engine and shock absorbers. Be careful, because the sharp edges of the case may injure your hands. Therefore, alternately push one side or the other.
At this point, the disassembly is over. Next you will learn how to install a new drum bearing.
How to remove and replace the bearing in the SMA "Ardo"?
To prevent damage to the components during dismantling, install half the tank on an old tire or brick support. To make replacement as easy as possible, lubricate the center of the tank with WD-40, which corrodes rust. Subsequently, it will be easier to remove parts from the seat.
Then proceed as follows:
- Tapping with a rubber mallet, knock out the drum shaft until it comes out of the tank opening.
- In the tank opening you will see an old bearing and an oil seal (seal). Remove the rubber seal and knock the ring out of the slot. To do this, install the chisel on the outer ring and, tapping with a hammer, knock out the inner and outer bearings.

- Clean the nest from scale and dirt with a rag and sandpaper. Process the inside of the tank in the same way.
Now it's up to the small. Bearing replacement in the Ardo washing machine is carried out in the reverse order. Immediately install the inner ring into the socket (also tapping the edges with a chisel), then the oiled stuffing box. Turn over half of the tank and place the outer ring. Then clean the drum shaft, grease and assemble the structure together.

The video shows how parts are replaced in a workshop:
What bearings are needed for Ardo washing machines?
The bearing, as well as the oil seal, should be selected based on the model of the machine. For example, Ardo a400, a600x, a800, a1000x require parts of different sizes. It is impossible to accurately bring the common standards of suitable elements, because the manufacturer can change the characteristics of spare parts.

In order not to make a mistake in the selection, take the old item and go with it to the store. Each spare part has a serial number by which you buy a new part. This applies to all Ardo washers.
We hope our recommendations will help replace broken items and restore the operation of the equipment. To extend the life of the bearings, do not load more laundry in the drum than specified in the instructions. Run preventive programs using anti-limescale products to protect internal parts from damage.